
Calculation
Overview
A calculation is the top-level data structure in RollupCalc and most data has some relationship to a calculation. Thinking in terms of a spreadsheet application, the calculation represents a worksheet. A calculation has rows, columns, and versions, among other things.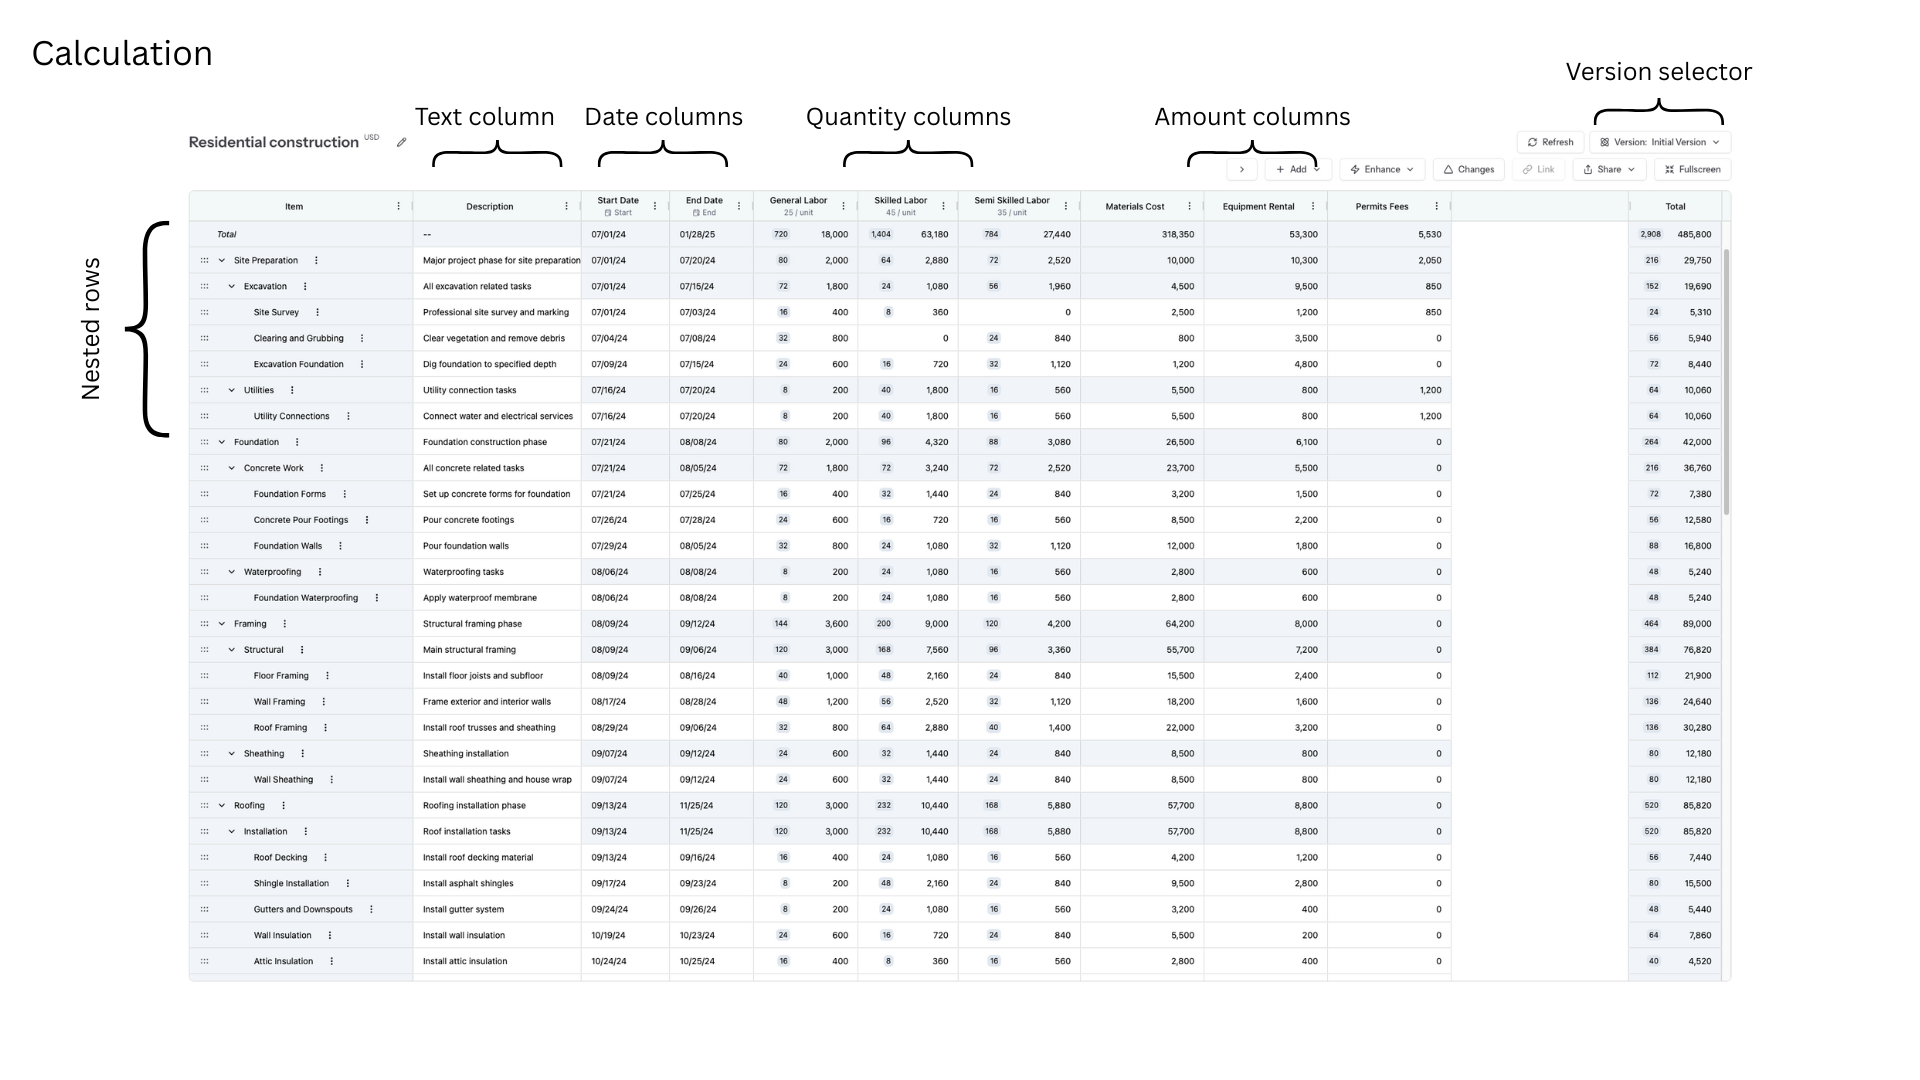
Creating a calculation
Before showing the steps to create a new calculation, it's important to understand the different ways to create a new calculation: Manual input and Import from file.
Manual input
The Manual input option is simple: it creates an empty calculation ready to add rows, columns, and cell values. A default "Initial Version" version will be created.
To create a calculation from scratch, follow these steps:
Step 1: Go to the Calculations page
Click the Calculations link on the menubar to visit the Calculations page.
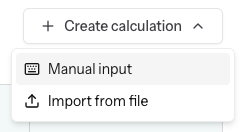
Step 2: Select Manual input
From the Create calculation dropdown, select Manual input:
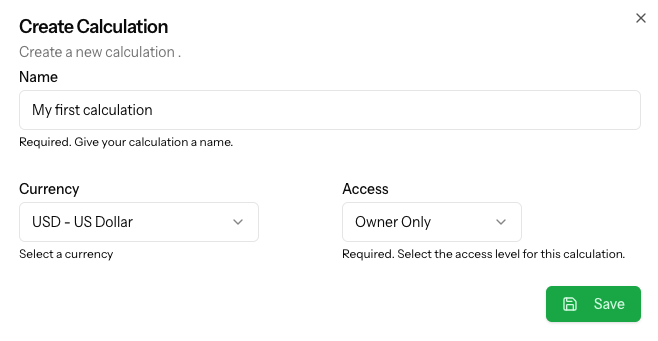
Step 3: Add details
On the Create Calculation popup, enter a unique name, select a currency, choose an access level, and then click Save:
Import from file
If an Excel or CSV file already exists with the necessary rows and columns, the user can choose to import the file into RollupCalc to create the calculation.
Prerequisites for importing
Before importing, there are a few things that need to be checked for an accurate RollupCalc representation of the file contents:
- The file should have no empty starting rows and no empty starting columns - in an Excel file, for example, The rows should start on row 1 and the columns should start in column A.
- There should be no blank rows or columns mixed in with the data.
- Each column should have a column header on the first row.
After confirming the data is in tabular format, the user should be successful in importing the data.
Step 1: Go to the Calculations page
Click the Calculations link on the menubar to visit the Calculations page.
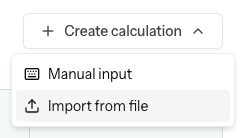
Step 2: Select Import from file
From the Create calculation dropdown, select Import from file:
Drop a CSV or Excel file in the drop zone or choose Select File to browser to a file on your device.
After adding a file, the contents will be analyzed and details of the analysis will be presented. The analysis includes proposed calculation settings as well as settings for rows and columns.
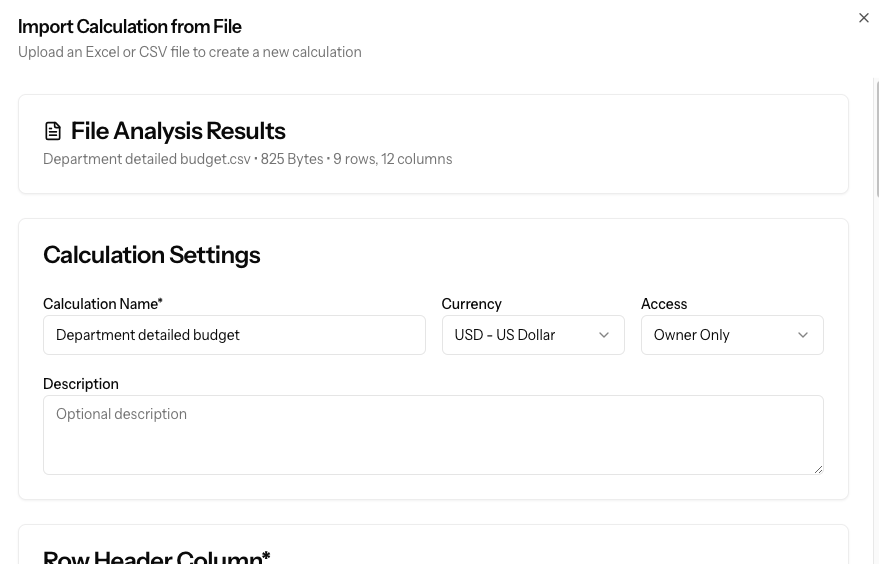
Review and update as needed the proposed Calculation Settings.
Row Header Column
Select a column that should be used as the row header - this is required.
Parent Reference Column
If importing nested rows, the import function needs to know the column that contains the parent reference. Select the parent reference column if a column is available. For example, if the selected Row Header Column contains departments, the parent reference column is expected to be blank (if the row is a top-level row) or expected to contain a value that exists in the Row Header Column. This is optional.
Note: If the data is nested but a parent column is not available, the data can be imported and the nesting created later within the Calculator.
Column Configuration
During the file analysis, the columns are read and RollupCalc attempts to determine column details.
Import column checkbox - By default, each column is selected for import but, if there are columns that should not be imported, uncheck the checkbox next to the column name and the column will not be imported.
Display name - The column header from the file will be proposed as the as the display name - change it if necessary.
Column type - Although the correct column type is often suggested, it's important that the user review each column type and ensure the correct column type is selected. If the wrong type is selected and the file imported, the data may be missing or corrupted. If this happens, simply delete the calculation and import it again using the correct settings.
Reference - If needed, the user can choose to provide a reference for each column. This reference is optional and not used by the calculator - it is only there for the user's purpose. An example would be a column that represents a general ledger account where the account name serves as the column display name but the user wants to also track the general ledger account number.
Step 5: Initiate import
Once all settings have been reviewed, choose the Create Calculation action at the bottom of the popup to start the import. RollupCalc will start importing the file creating the rows, columns, and cell values. Once the import is complete, the user will be navigated to the calculation page.